

This article will walk you through the steps to create a compelling guide for your property, helping you showcase it at its best.
Step 1: Create a Welcome Page
This step is one of the most important because it’s the very first thing your guests will see when they receive the guide. A strong first impression sets the tone for their entire stay.
You can easily set up your Welcome Page from the Access section in your InnovGuide app.
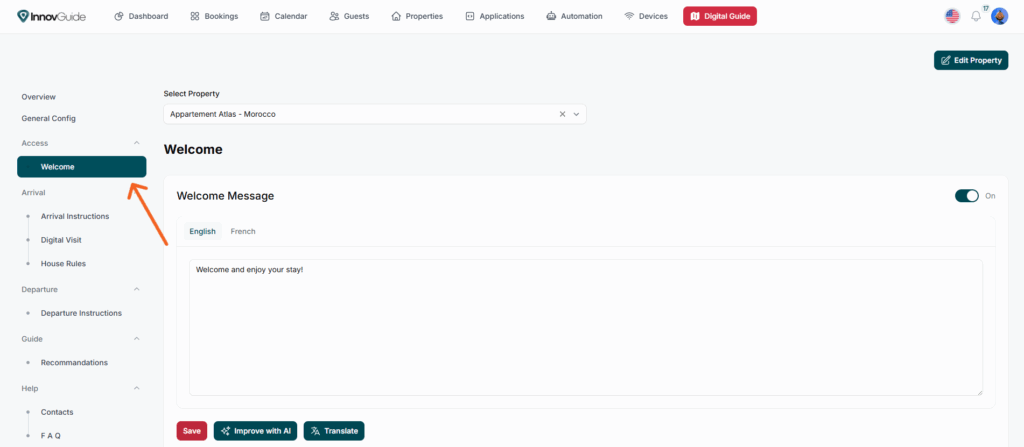
You can choose from different themes for your page and personalize it with a warm welcome message, your contact details, the location of your property, and a picture to illustrate it.
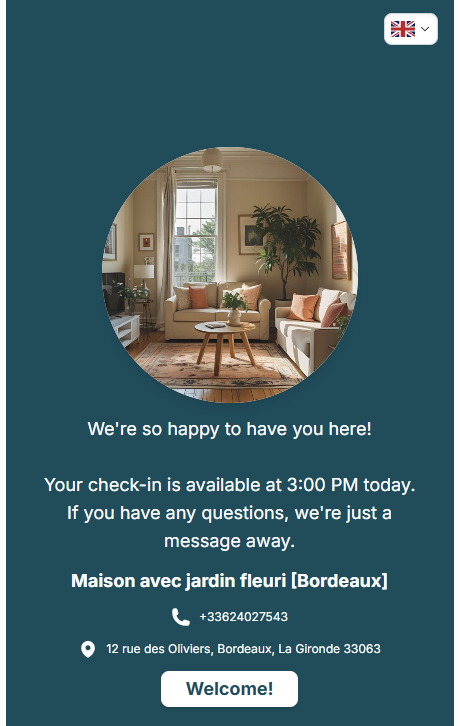
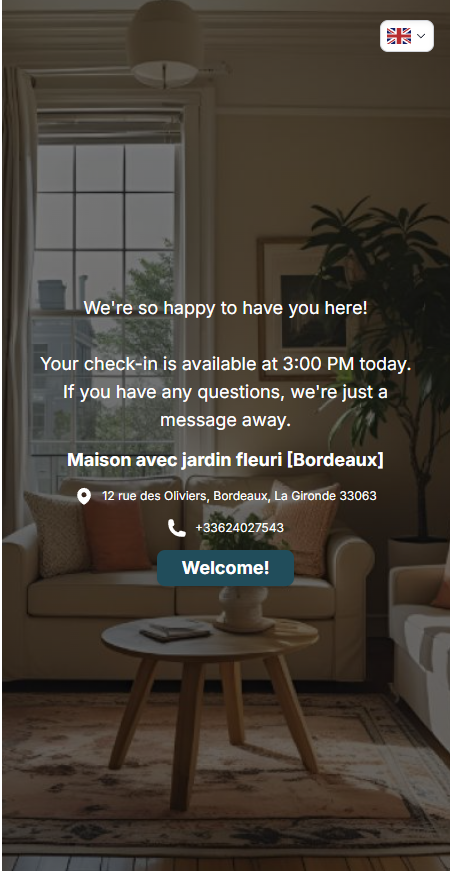
These elements help create a friendly, professional first impression and make your guests feel at home from the very beginning.
For more details about the customization of the welcome page look at this page: Personalize Your Guest Welcome Page
Step 2: Define Your Arrival and Departure Instructions
Once your welcome page is ready, you can start writing all the steps your guests need to follow upon arrival and before departure.
Arrival and Departure
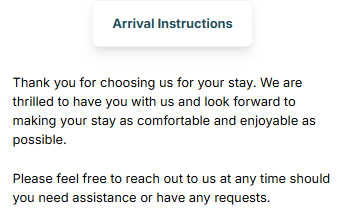
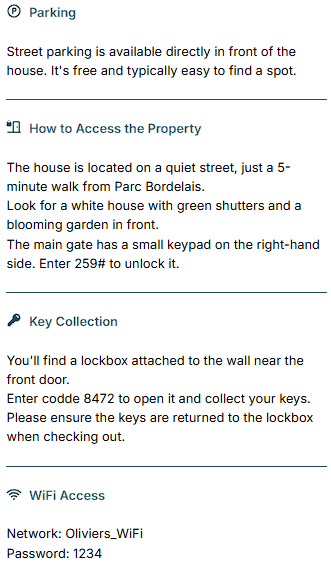
The Arrival section in InnovGuide is designed to ensure your guests have a smooth, well-prepared check-in experience.
In the Instructions part, you can clearly outline every step they need to follow before and upon arrival, making the process simple and stress-free.
The Digital Visit lets you offer a welcoming first impression of your property with engaging descriptions and high-quality photos, helping guests feel at home before they even step inside.
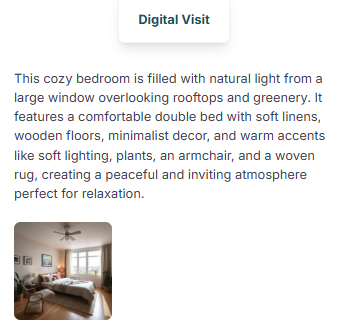
The photos and amenities of your property import automatically, so if you’ve already set them up when adding your place, there’s no need to do it again.
The House Rules page gathers all the important policies such as rules on pets, smoking, or curfew, so expectations are clear and your property is respected throughout their stay.
Finally, the Departure section works just like the arrival instructions, providing a clear checklist of everything your guests should do before leaving the property, ensuring a smooth handover for the next visitors.
To learn how to set all this up, refer to this article: Simplifying the Check-in and Check-out for Your Guests
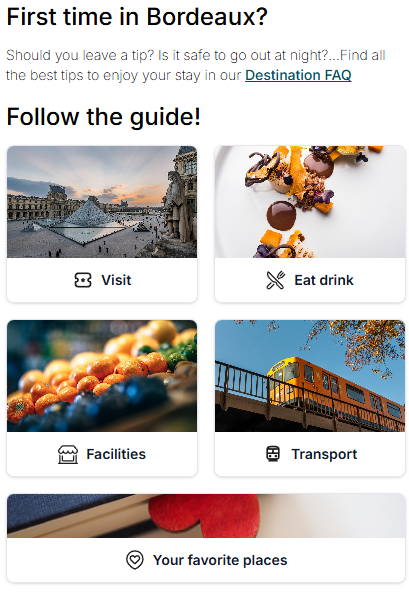
Step 3: Create You Local Guide
This might be the most important page of your guide, as it is where your customers can find the activities they will do during their stay. Therefore, you should recommend activities they might enjoy so that they can be highlighted at the top of the page.
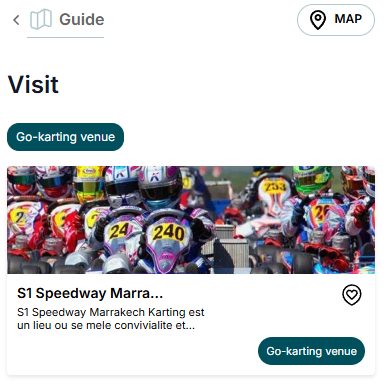
Here is an article to learn how to do it: How to Add and Organize Guest Recommendations
Step 4: Add Useful Contact to Handle Issues
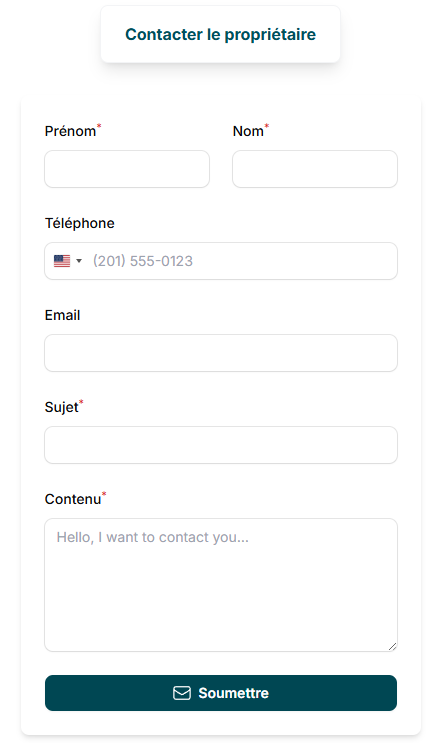
The Help section centralizes all the information your guests might need during their stay.
Provide useful numbers for emergencies, such as a plumber, electrician, hospital, police, or fire services and add a contact form for direct requests. This setup makes it quick and easy for guests to get the assistance they need.

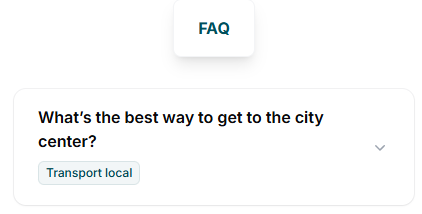
The FAQ complements this by answering the most common questions, ensuring your guests feel supported and reassured at all times.
Want to add this to your guide? Look at our dedicated article to set it up: Make It Easy to Connect: Add Contact Information to Your Guide
Step 5: Configure Your Pre-Check-In Process
Now that your guide has been done, you need to give access to the guide to your costumers. You can do so by creating a form that your costumers will fill to get access to your property and guide. This form can either mandatory, optionnal or you could give direct access to your goods it’s up to you to choose which option is the best.
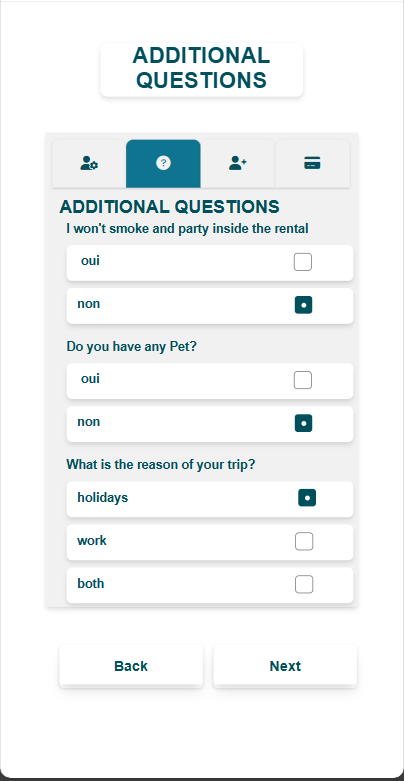
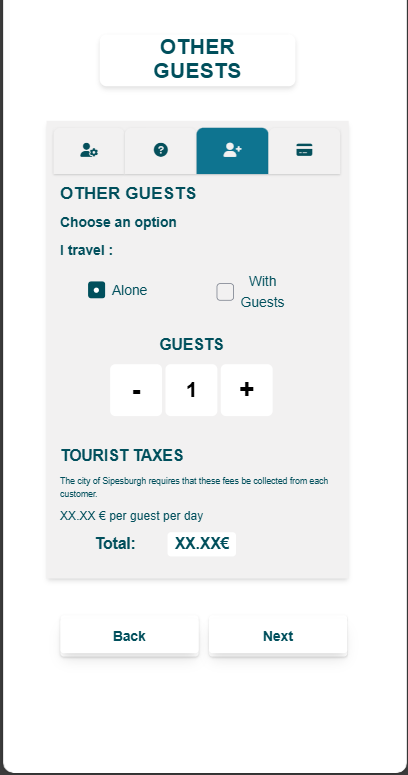
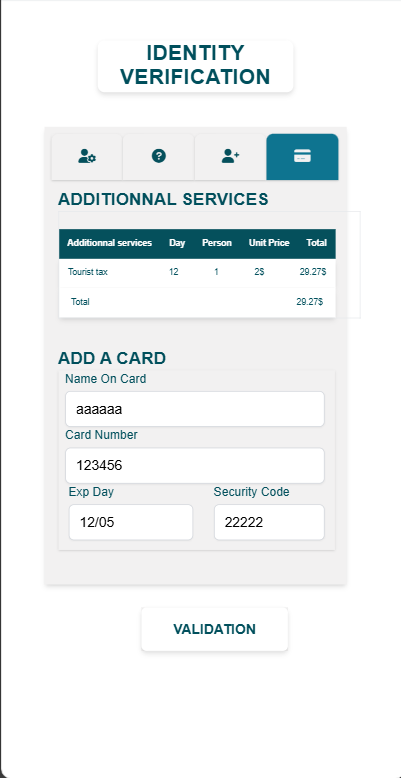
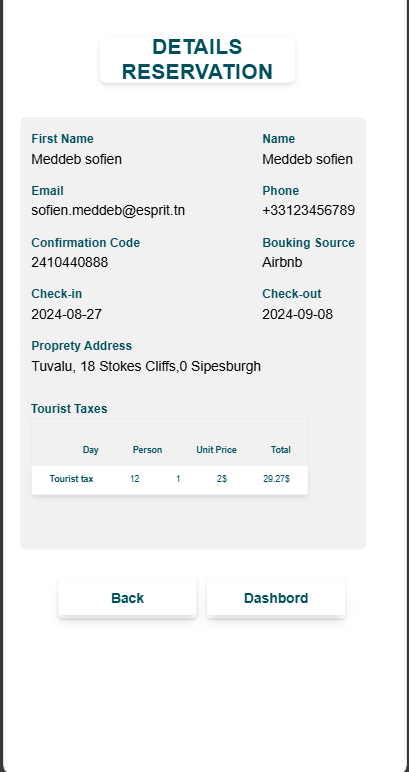
The form is fully customizable, allowing you to request all the documents and payement needed to legally grant access to your property. It’s also a great way to inform guests about check-in and check-out times.
You can create your own Pre-Check-In form by checking out this dedicated article: How to Set Up and Customize Your Pre-Check-In Process